I am doing lots of painting with the kids, and using all kinds of surfaces to decorate.
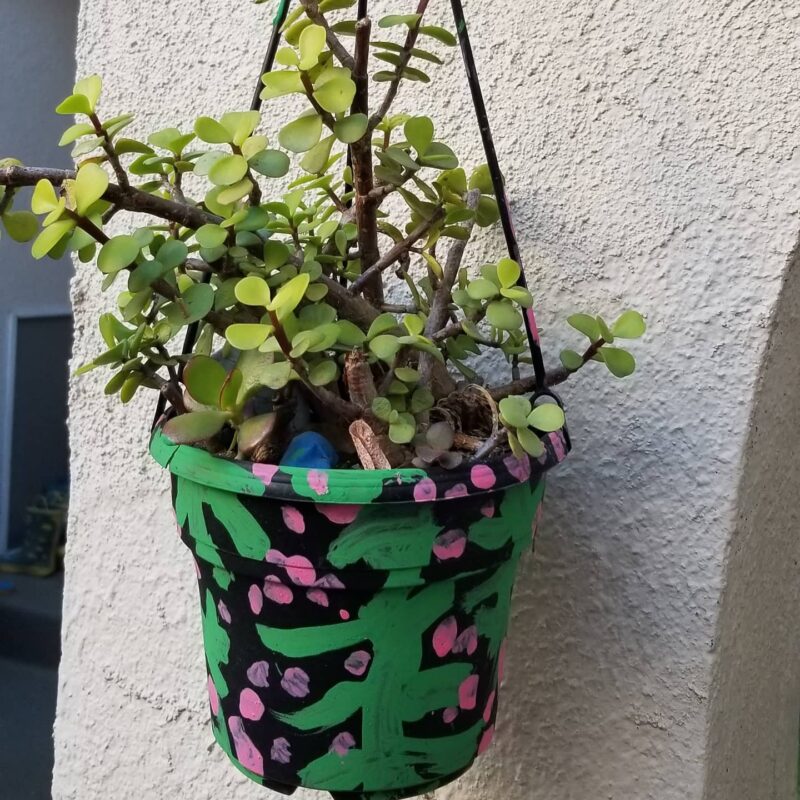
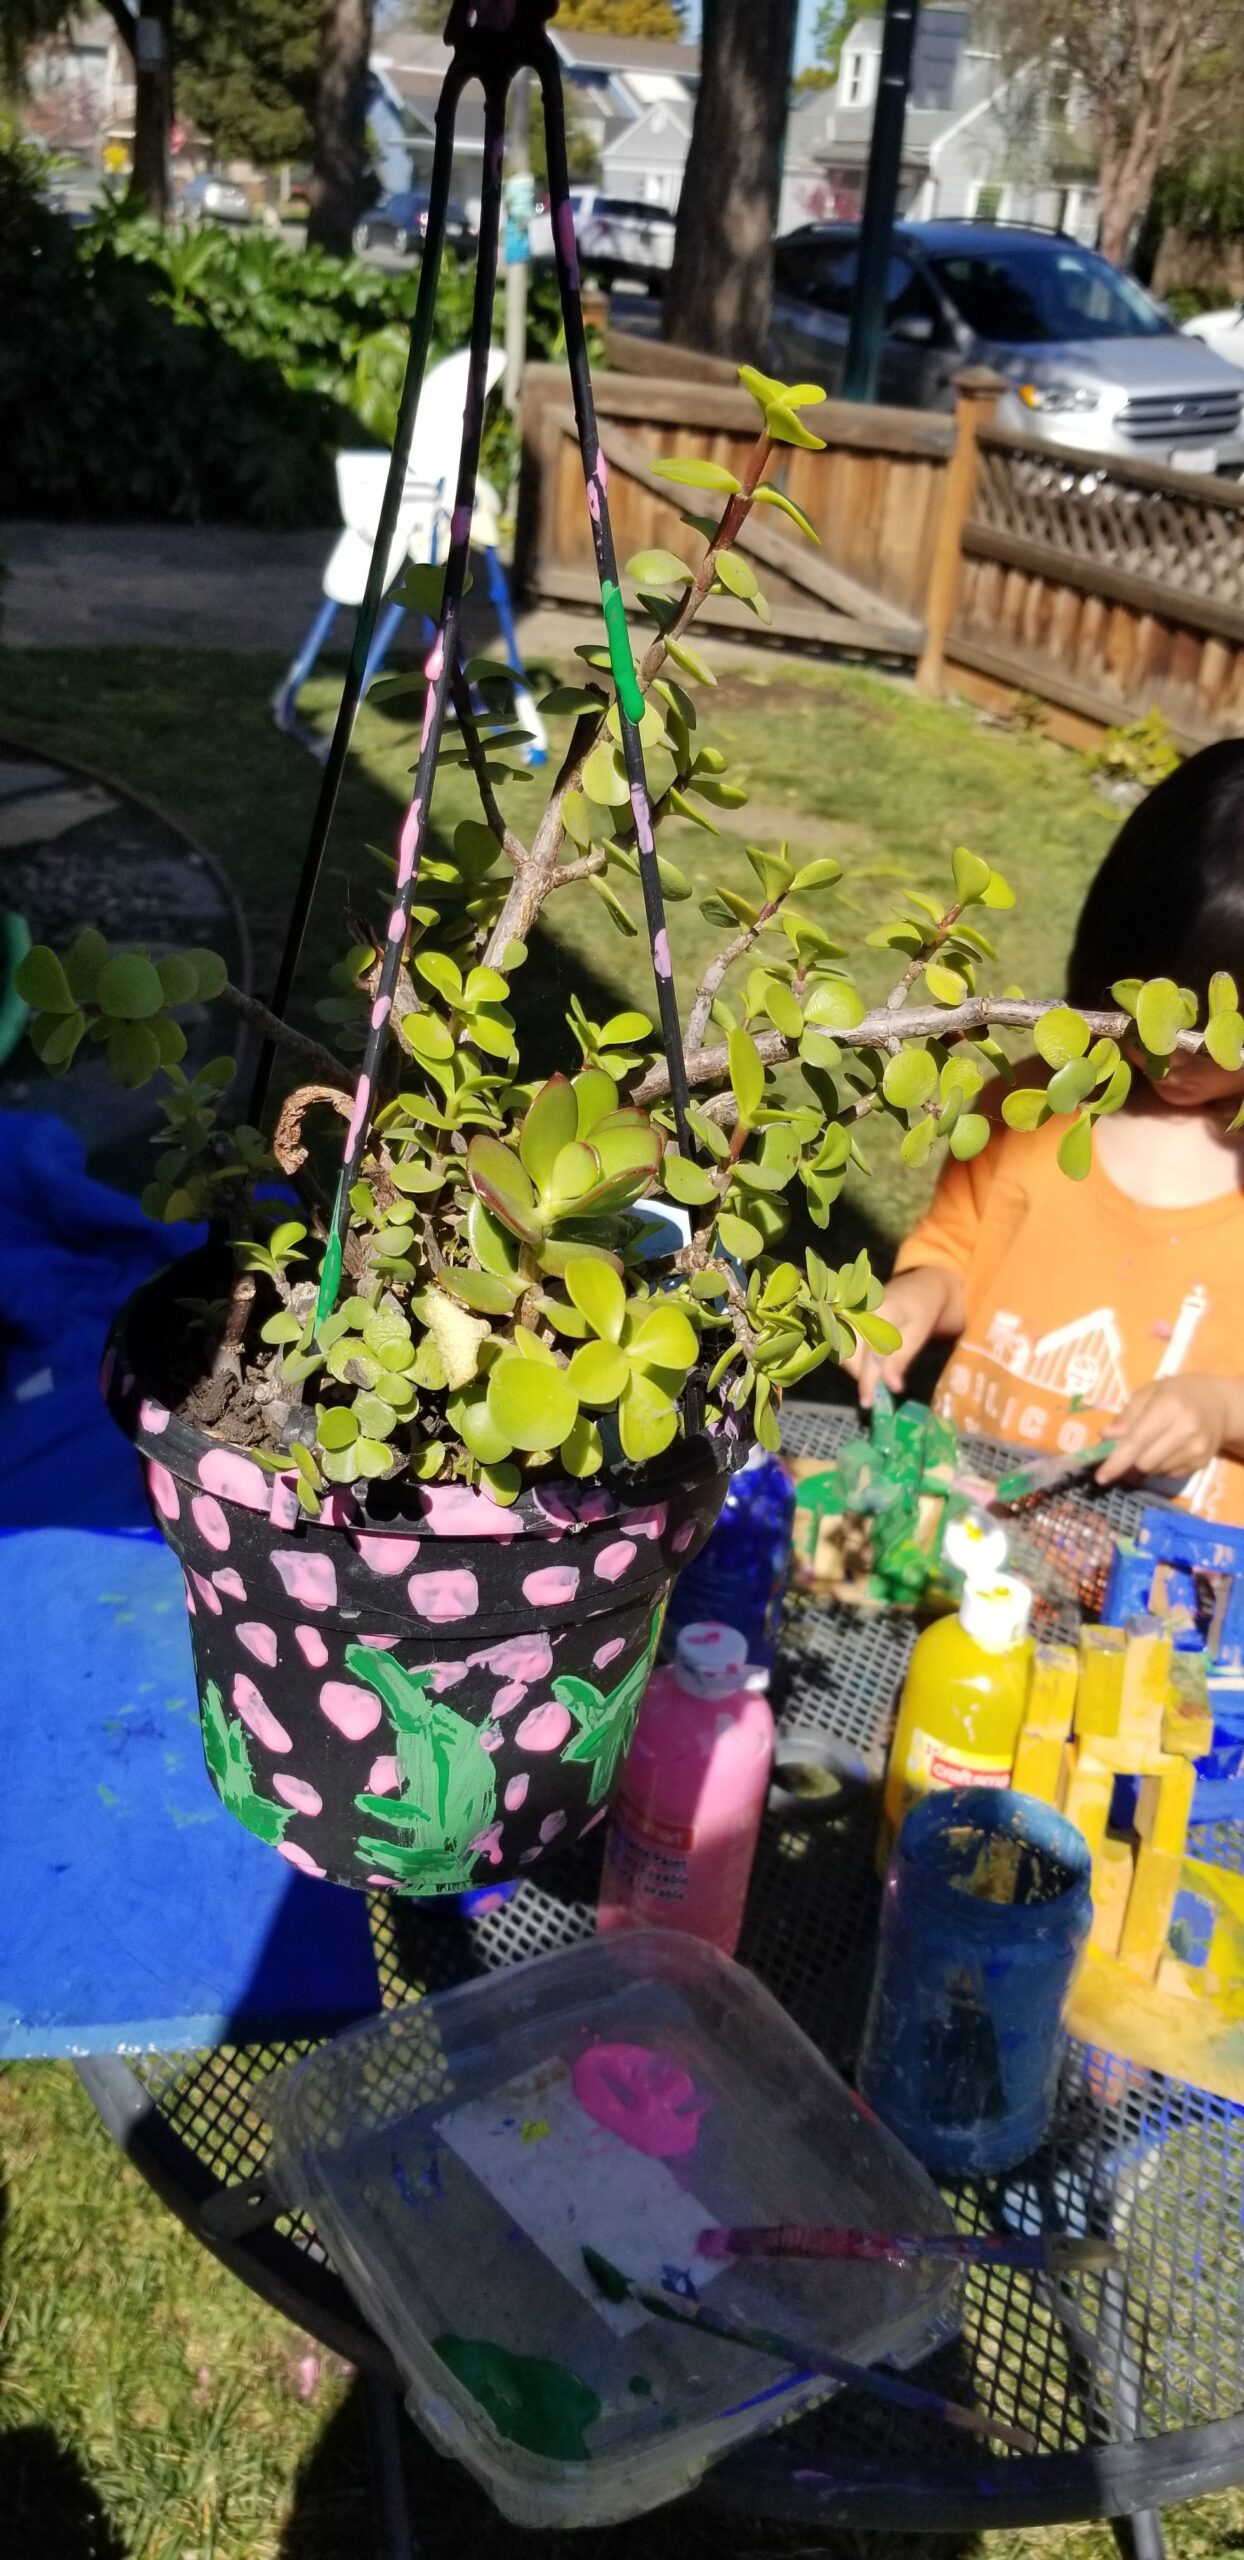
I took one of the hanging black Planters that’s been around my home forever. It was from Home Depot. Then with some basic kids paints, I put lots of pink polka dots and then Green Leaf shapes all over it.

 How do you transform an ugly plastic planter?
- Collect your paints together. Choose only two colors in your palette. If you must go to three.
- Taking a basic foam or traditional brush, use one of the colors to put small polka dots all over the planter. Be generous!
- Using your other color, fill in some of the empty spaces with a curvy line. Then put other lines off this main line. This will make a nice plant shape.
- Be sure to paint the bottom and handles, anywhere that people might see.
- Let it dry in the sun for at least 24 hours.
- If you like, you can do a second coat to make the colors pop even more.
- Once it is fully dried, cover it all in matte finish modge podge.
- Let that dry, and you should be good to go!
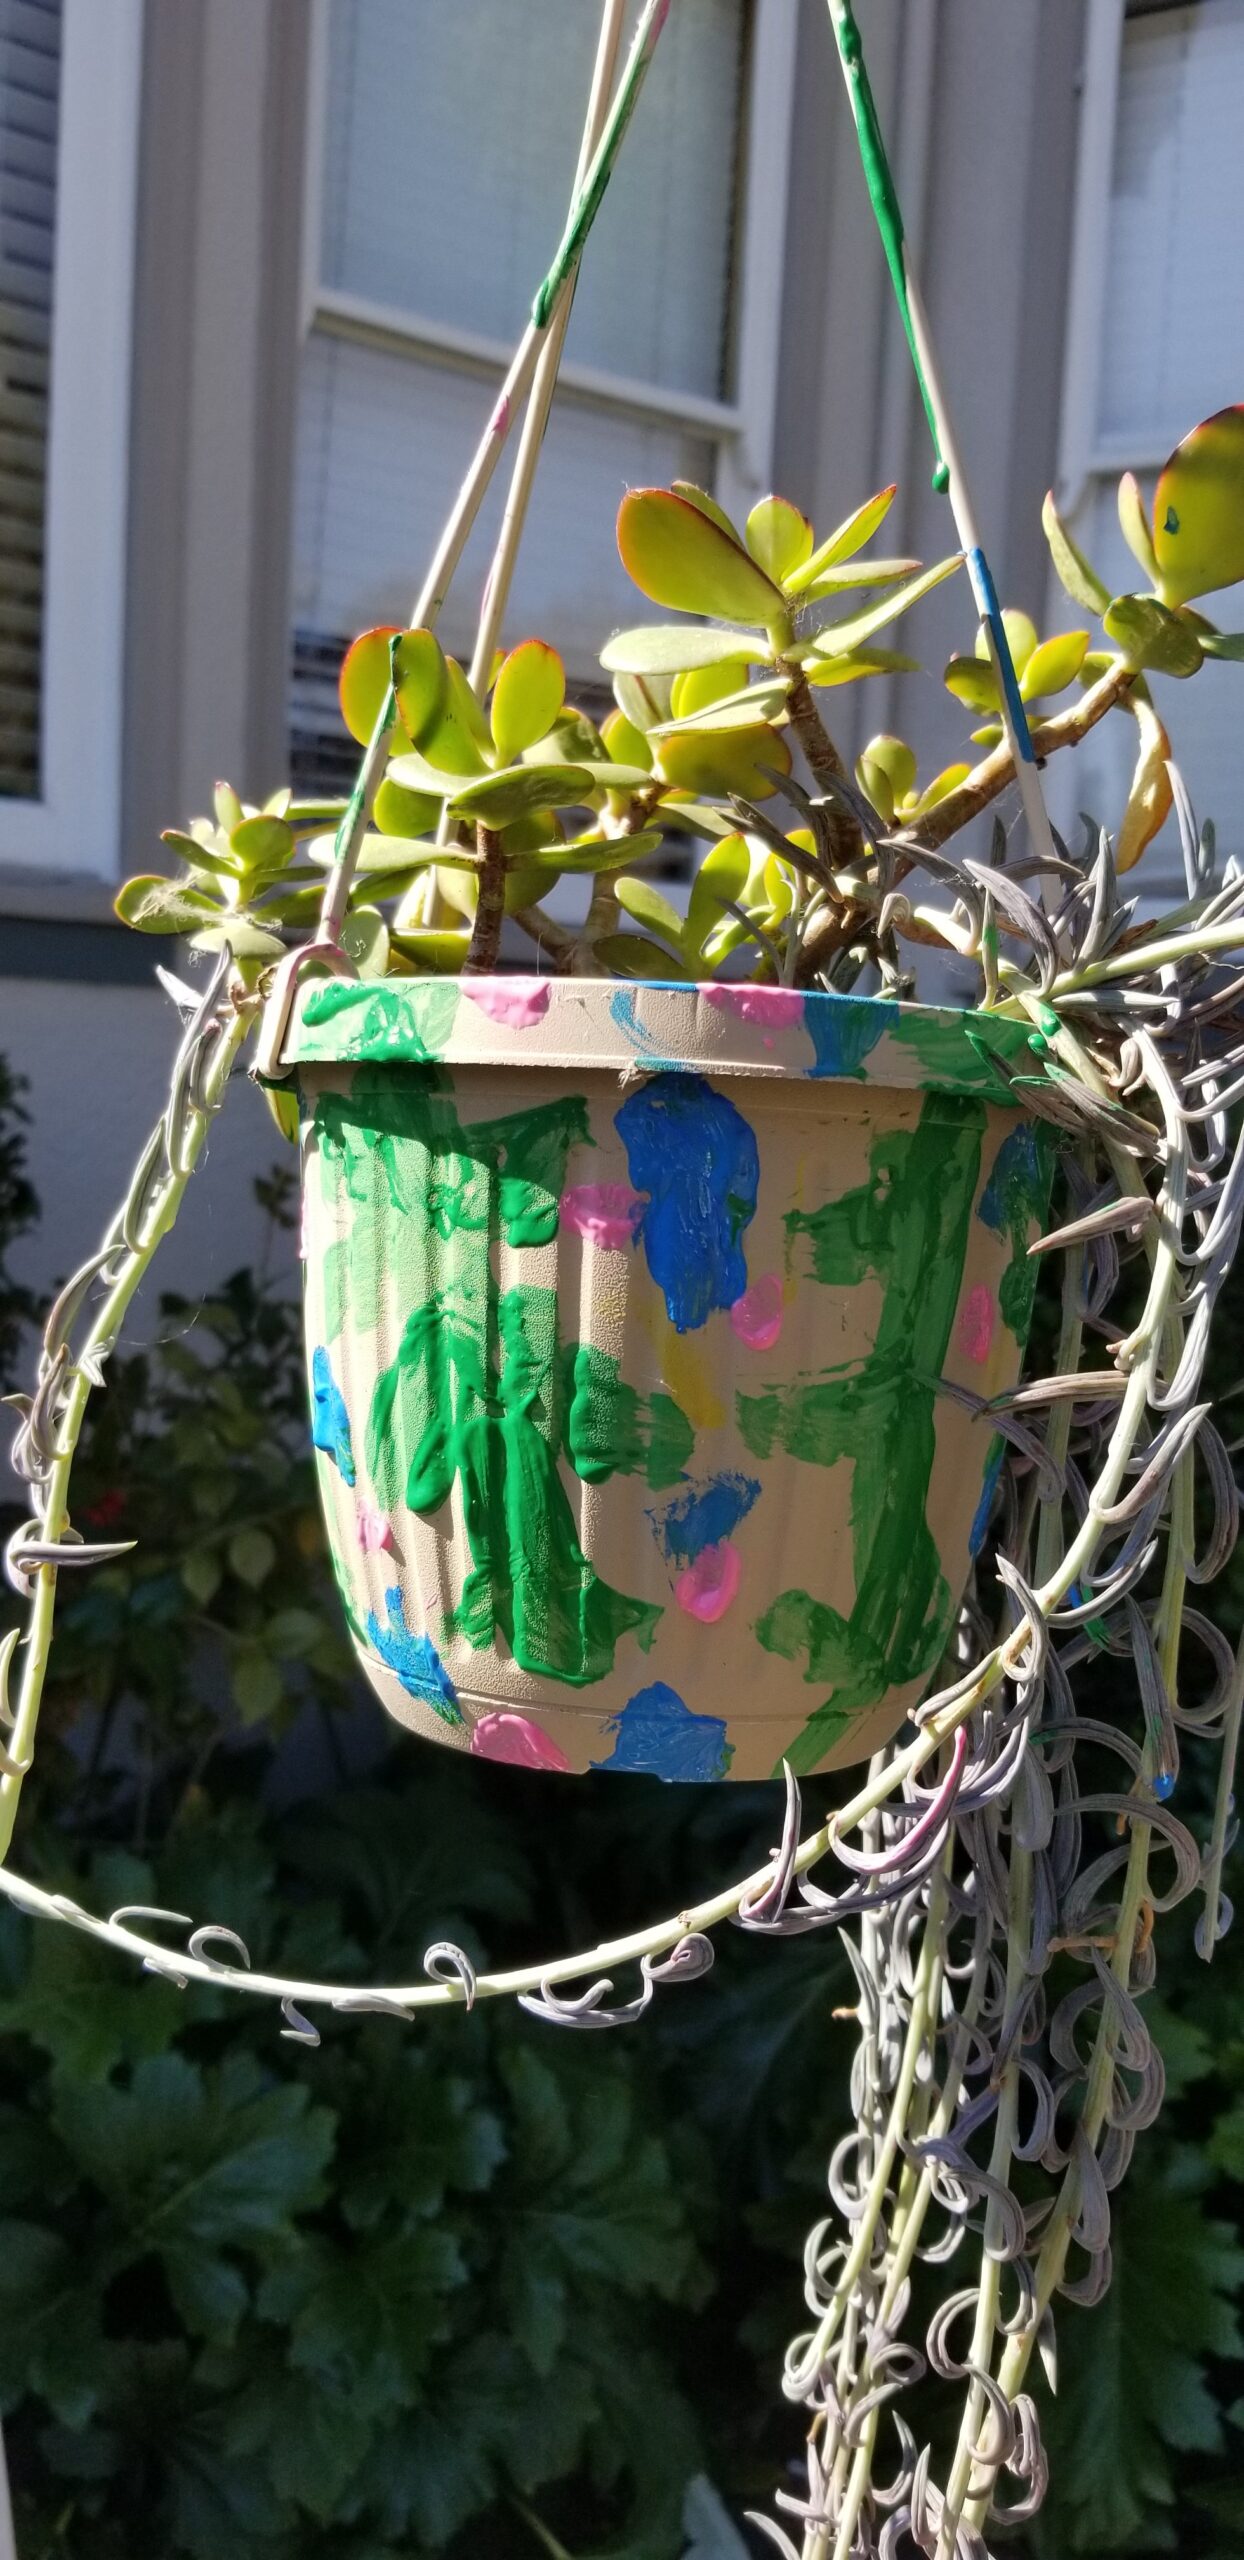
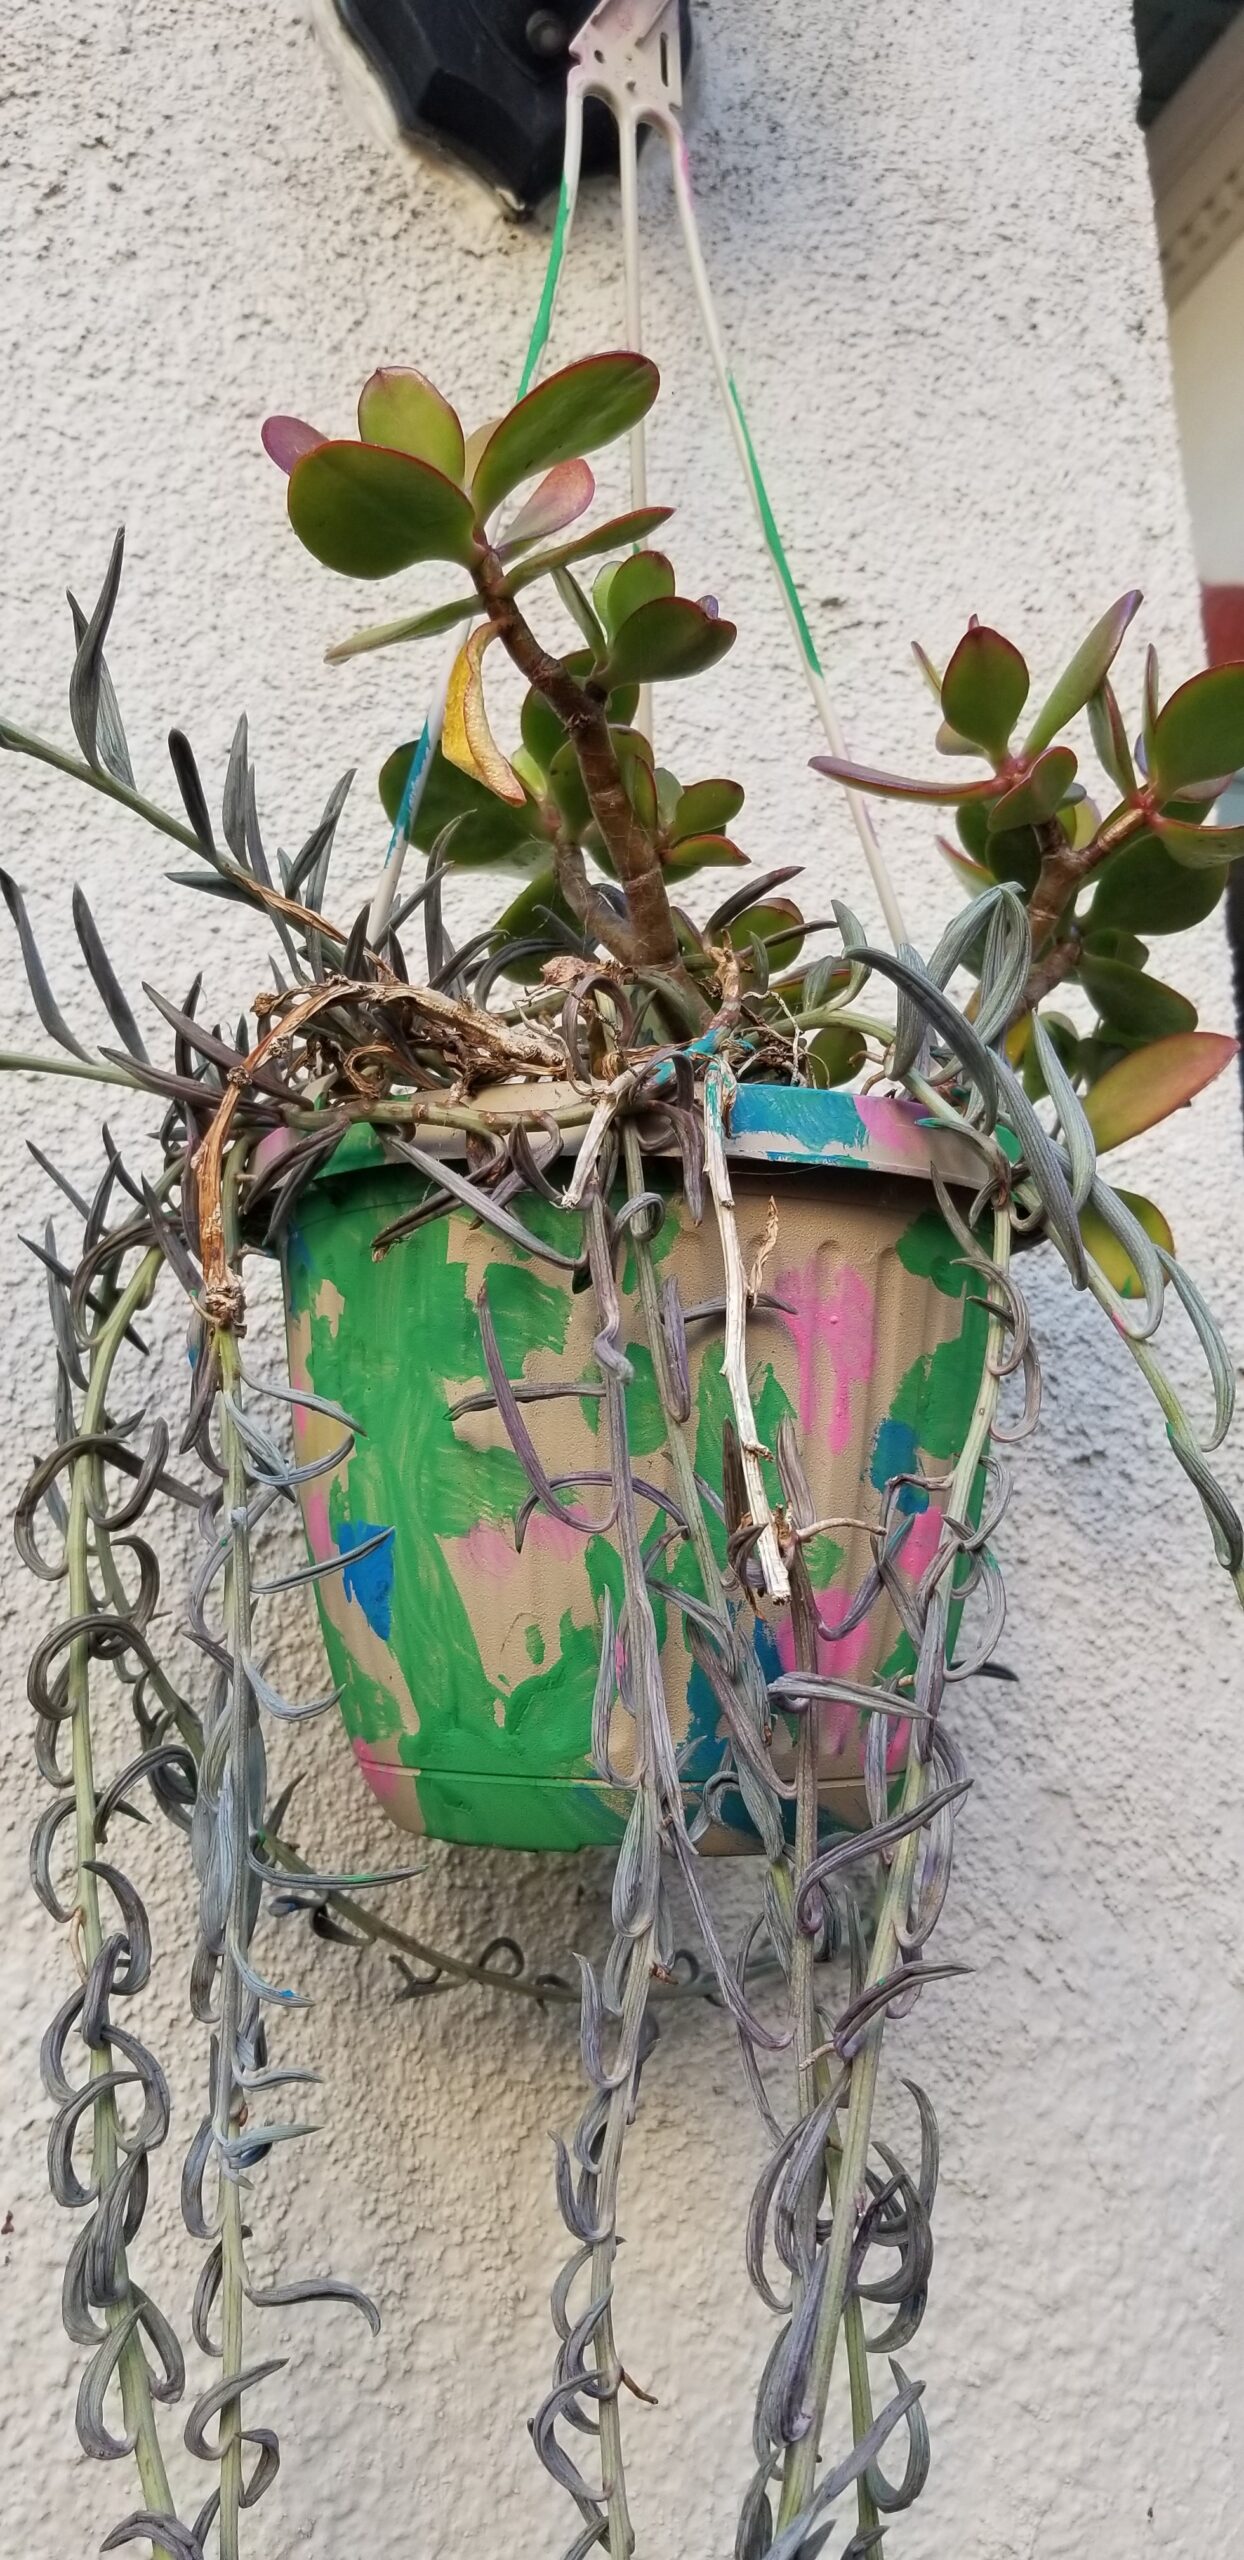
After we finished our black plastic planter, then we turned to the beige one. There we did a 3 color palette: Green shapes, and pink and blue dots.